In today’s digital age, managing your online presence is crucial. Whether you’re a business owner, a brand ambassador, or simply someone who created a Facebook page for a personal project, there may come a time when you need to delete a page. The reasons could range from rebranding and mergers to simply losing interest. Whatever your reason, knowing how to properly delete a Facebook page is essential to ensure a clean and effective online presence.
Why Delete a Facebook Page?
Before diving into the steps to delete a page, it’s important to understand why you might want to do so:
- Lack of Engagement: If your page is no longer generating interest or engagement, it might be time to reconsider its existence.
- Mergers and Rebranding: Sometimes businesses merge or rebrand, making the old page redundant.
- Spam or Inappropriate Content: If your page has become a target for spam or has inappropriate content, deleting it might be the best option.
- Privacy Concerns: You may want to limit your digital footprint, and deleting an unused page can help with that.
- Simplifying Your Online Presence: If you have multiple pages or accounts, consolidating or deleting can help streamline your online presence.
Understanding the Implications
Before proceeding with deletion, it’s crucial to understand what deleting a page entails:
- Permanent Action: Once a page is deleted, it cannot be recovered. This means you will lose all content, followers, and insights associated with that page.
- Admin Rights: Only admins have the authority to delete a page. Ensure you are logged in with an admin account.
- Notification to Followers: Facebook does not notify your followers when you delete a page, but they will notice the absence if they previously engaged with it.
Steps to Delete a Facebook Page
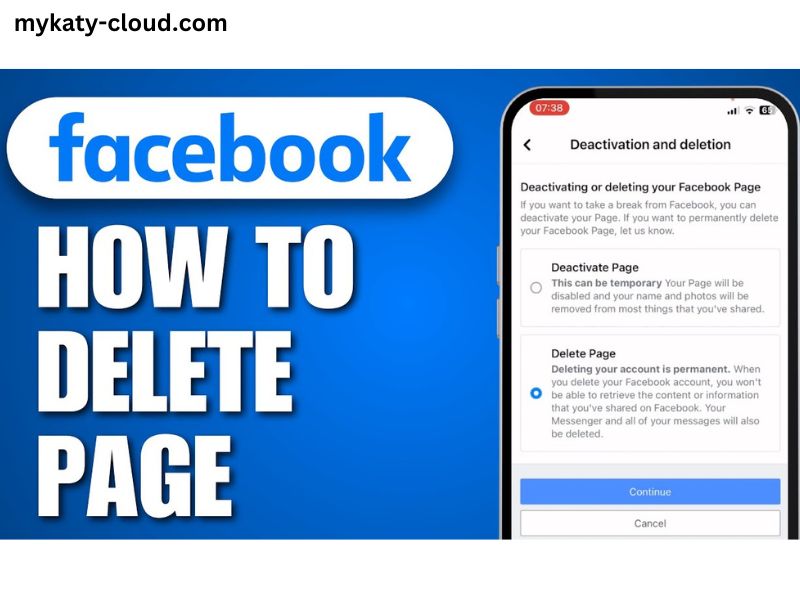
Deleting a Facebook page is straightforward, but it’s essential to follow the correct steps to ensure everything is done properly. Here’s a detailed guide:
Step 1: Log Into Your Account
- Open Facebook and log into your account that has admin rights for the page you want to delete.
Step 2: Navigate to Your Page
- Click on the menu icon (the grid icon) at the top right corner.
- Select “Pages” from the dropdown menu.
- Locate and click on the page you wish to delete.
Step 3: Access Page Settings
- Once you’re on your page, look for the “Settings” option. This is usually found in the left-hand sidebar.
Step 4: Find the ‘Remove Page’ Option
- In the “Settings” menu, scroll down to the “General” tab.
- Look for the section that says “Remove Page.” Here, you will find the option to delete your page.
Step 5: Confirm Deletion
- Click on the link that says “Delete [Page Name].”
- Facebook will present you with a warning message about the permanence of the action.
- Confirm your choice by clicking “Delete Page.”
Step 6: Verification
- After confirming, Facebook may ask for a verification step, such as re-entering your password.
- Once completed, your page will be scheduled for deletion.
Step 7: Understand the Deletion Process
- Facebook may take up to 14 days to fully delete the page. During this time, the page may still be visible to others.
- If you change your mind within this period, you can cancel the deletion by navigating back to the page and selecting the option to cancel.
Alternative: Unpublishing Your Page
If you’re unsure about completely deleting your page, consider unpublishing it. This option allows you to hide your page from the public while retaining all content and followers.
Steps to Unpublish a Page:
- Go to “Settings” on your page.
- In the “General” tab, find the “Page Visibility” section.
- Select “Page published” and change it to “Page unpublished.”
- Save changes.
This way, you can revisit the page later if you choose to reactivate it.
Additional Considerations
Backing Up Your Content
Before you delete a page, consider backing up your content, especially if it includes valuable posts, photos, or videos. You can take screenshots or manually save important information. Facebook allows you to download a copy of your data, which can be useful if you need to refer back to it later.
Handling Page Roles
If multiple people manage the page, inform them about your intention to delete it. This can help avoid confusion and ensure everyone is on the same page.
Alternative Actions
If the page has accumulated negative comments or spam, you might also consider simply deleting individual posts or moderating comments instead of outright deletion.
Common Issues When Deleting a Page
While the process is generally smooth, some users might encounter issues:
- Insufficient Permissions: Ensure that you have admin rights to delete the page. If you are not an admin, you won’t have the option.
- Technical Glitches: Sometimes, Facebook may experience technical issues. If the deletion process isn’t working, try logging out and back in or using a different browser.
- Pages with Active Promotions: If your page has ongoing promotions or ads, you may need to cancel these before deleting.
Final Thoughts
Deleting a Facebook page is a significant decision that requires careful consideration. Ensure you understand the implications and follow the steps accurately. Whether you’re looking to simplify your online presence, eliminate spam, or rebrand your business, knowing how to properly delete a Facebook page can help you manage your digital footprint effectively.
By following this guide, you can ensure a smooth deletion process, freeing you to focus on other important aspects of your online presence. If you ever decide to return to Facebook or create a new page, you’ll be equipped with the knowledge to start fresh.


